Create a bootable Windows USB drive
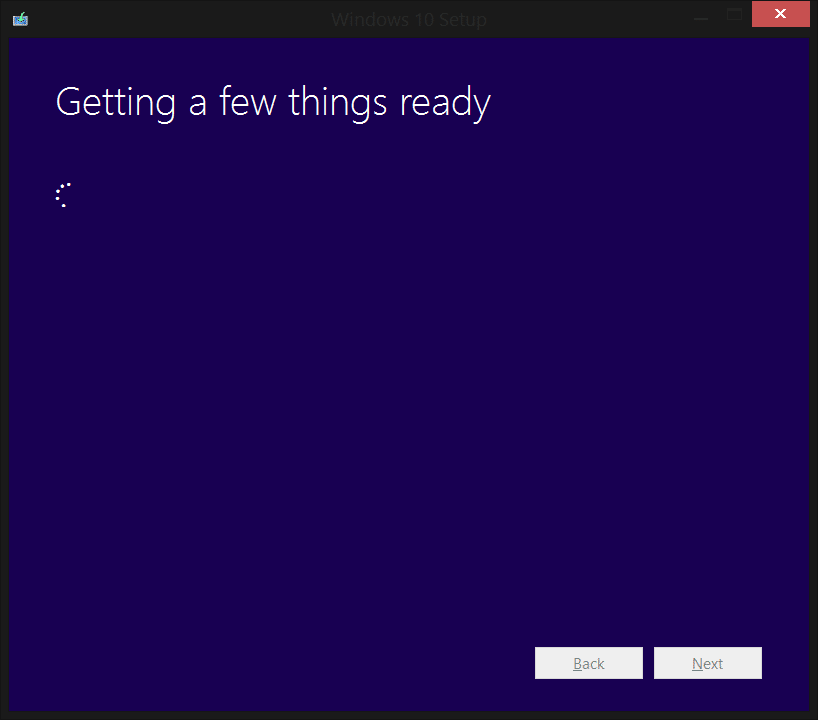
In this article, we will have a look at how you can make a bootable USB flash drive using Windows 10. First, we have to make sure the device in which you want to boot Windows supports usage of the USB drive as a boot device. It is highly likely that your computer supports this feature since every computer which uses Windows Vista and above supports this feature for sure. Make sure that your USB flash drive has at least 4GB of free space in it and your computer has at least 8GB of free hard drive space. If you choose to have a 64-bit copy of Windows, download the tool from here and if you want to install a 32-bit copy of Windows, download the tool from here. Launch the tool once you have downloaded it. You should see a screen like the one below: Choose “Create installation media for another PC” and hit the Next button. Pick the language and the edition of windows you want.
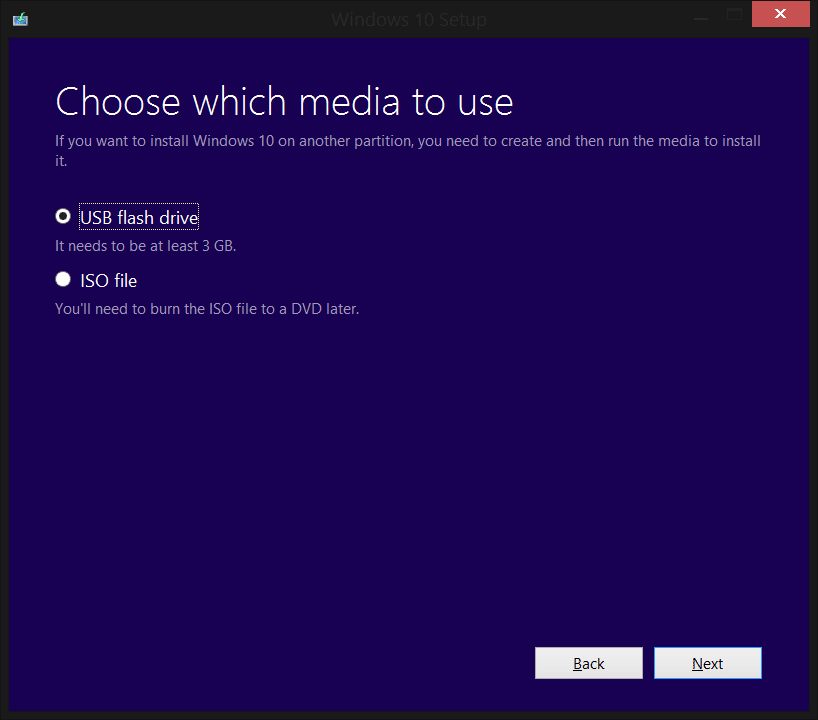
Now the tool will now check if you have enough space on your hard drive, based on your previous choices. If you don’t have enough space, you will have to restart the process.
select the first option and now insert your USB drive. Click “Next”.
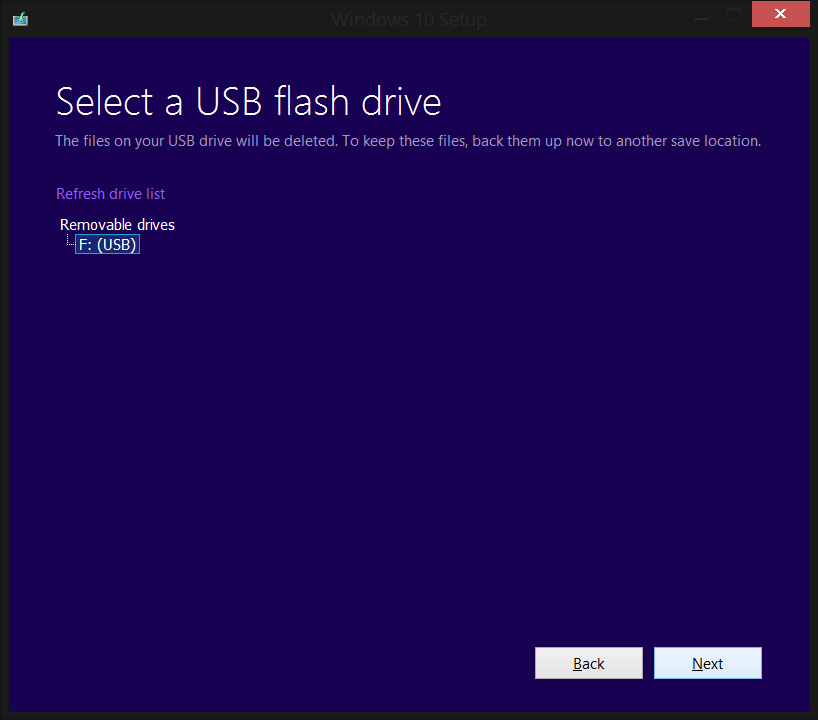
Select your USB drive from the list. Notice that the contents of the USB will be overwritten, which means you will not be able to get back the data inside the USB. So make sure you do not have anything important in that UBS drive. Now click “Next”.
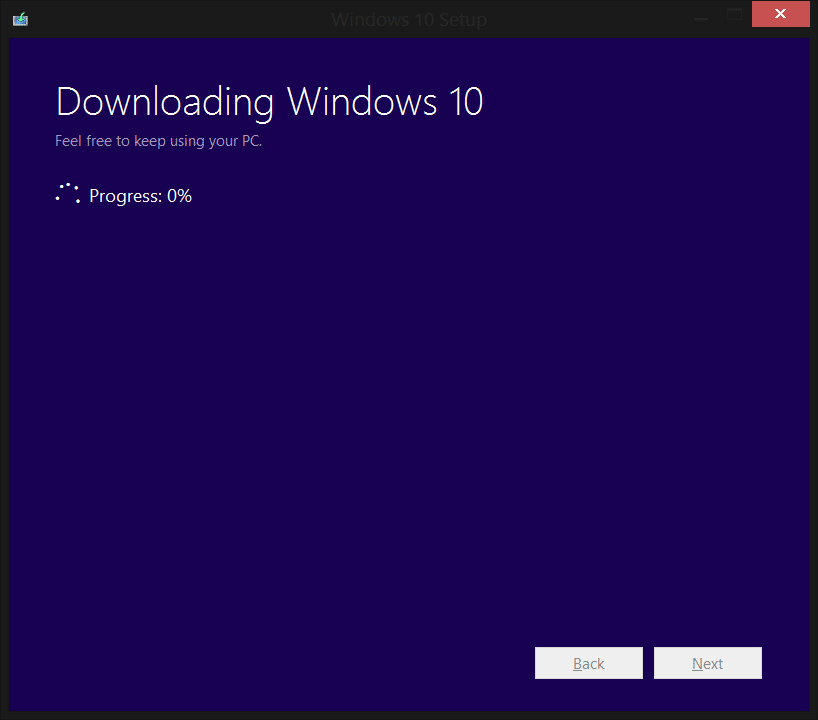
Now you should see that Windows 10 is downloading. This may take a while so have a cup of coffee and come back to check the progress.
You’re done. Now you can install Windows 10 from this USB drive, either by booting from it or from within a current installation of Windows.